Blog
Repairing chrome wheels is quite easy with the right tools and techniques. They are visually appealing but prone to damage. Road salts, brake dust, and even negligence can damage the wheels severely. However, repairing and maintaining chrome wheels is not complicated or expensive. It just needs proper methods and a little patience to keep them looking like new.
The chrome wheels just give off a sleek, shiny look. For aesthetics only, they deserve regular maintenance and care. Scratch and rust spots can easily damage the wheels. To effectively care, add quality chrome polish and protective sealant. These extend the life of your wheels. Regularly inspect your wheels, fix minor issues and apply wax or sealant every few months.
Add these practices to your routine maintenance. Your chrome wheels will continue to shine and perform, enhancing both the look and value of your vehicle.
Chrome wheels are tough, but they’re not invincible. Here are common culprits behind chrome wheel damage that really messes them up:
Winter is harsh on your chrome wheels, too. When road salt and chemical deicers come into play, they wreak havoc. These substances are meant to melt ice on the roads, but they also have a corrosive effect on chrome, leading to rust and accelerated corrosion. This happens because these chemicals facilitate oxidation of the metal under the chrome when they remain on the surface for extended periods.
Brake dust is more than just an unsightly annoyance. It contains tiny metal particles from the brake pads that, when heated during braking, adhere to your chrome wheels. Over time, this hot, sticky mess can etch into the chrome plating, damaging the finish and making your wheels vulnerable to further decay.
Driving over rough terrain or scraping against curbs can scratch and scuff chrome off-road wheels. These physical damages not only spoil the look but also expose the underlying metal to environmental risks.
When it comes to delicate chrome, not all cleaners aren’t reliable. Using harsh, acidic cleaners can strip away the chrome’s protective layer, exposing the underlying metal to the elements. This makes it crucial to choose wheel cleaners specifically designed for chrome, ensuring they clean without damage.
Neglecting regular cleaning schedules allows dirt and grime to accumulate, which can lead to more severe damage over time. Keeping chrome wheels clean is essential for their longevity and visual appeal.
The good news? Most of this is preventable. Clean your wheels regularly, use gentle products, and avoid rough roads when you can. A little care goes a long way in keeping your chrome wheels shining bright!
Alright, let’s talk about tools. You wouldn’t bake a cake without ingredients, and you can’t fix chrome wheels without the right supplies. Here’s your shopping list:
Pro Tip: If you’re dealing with serious damage (think deep scratches or rust), consider investing in a chrome wheel repair kit. These kits usually come with everything you need, like sandpaper, polish, and sometimes even a sealant, and cost around 30−50. It’s like a one-stop shop for wheel repair!
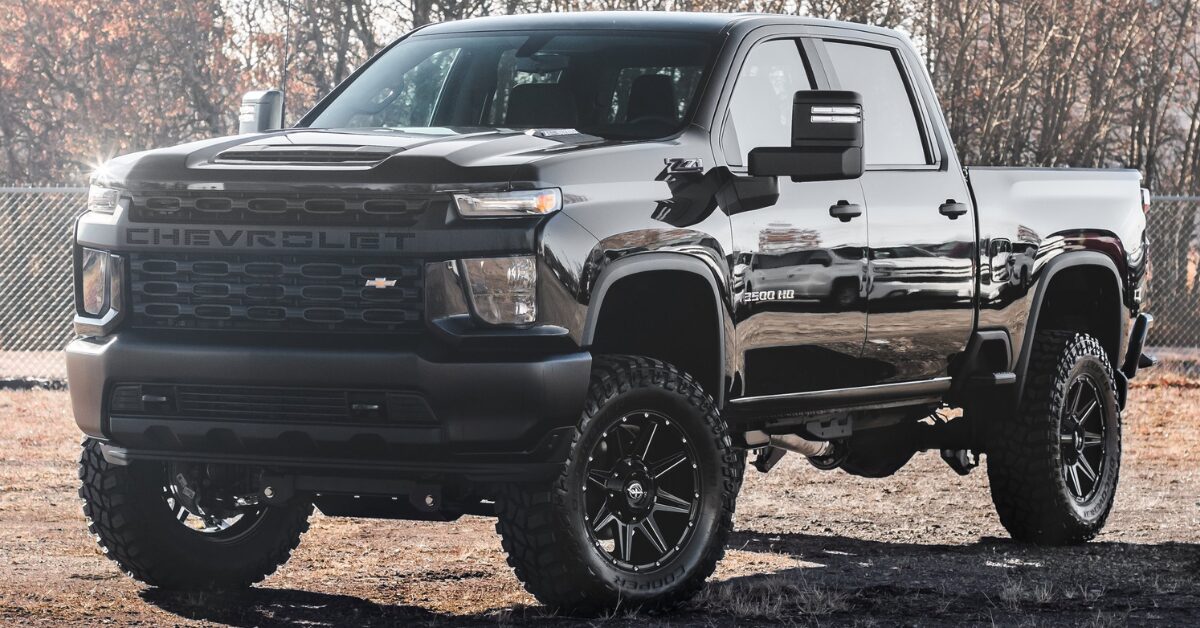
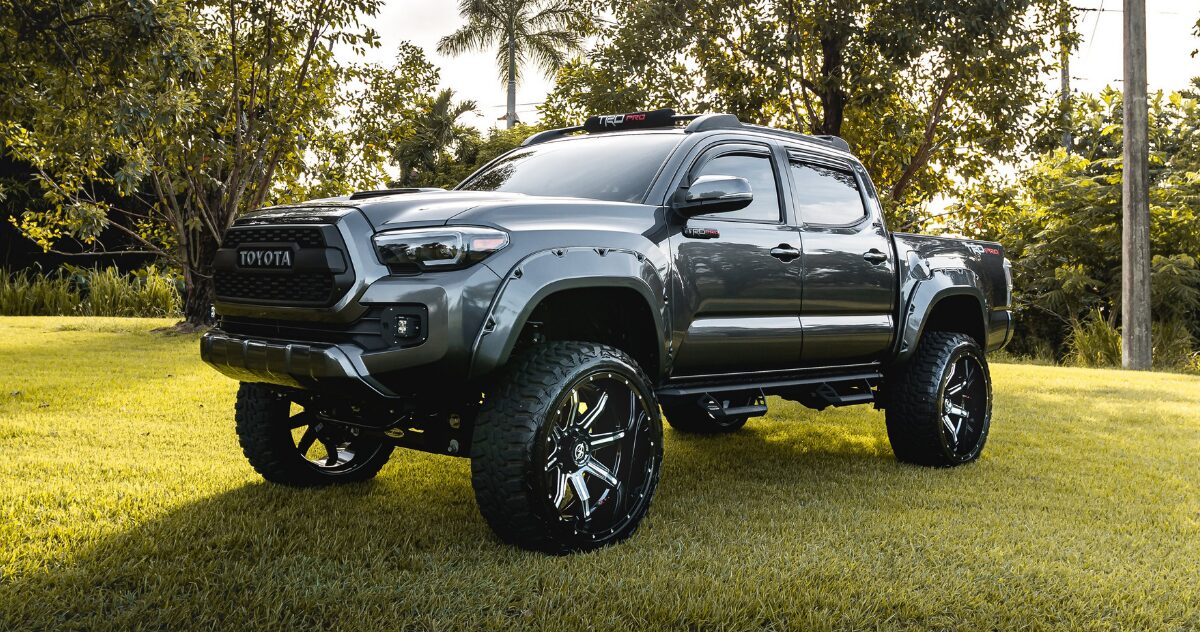
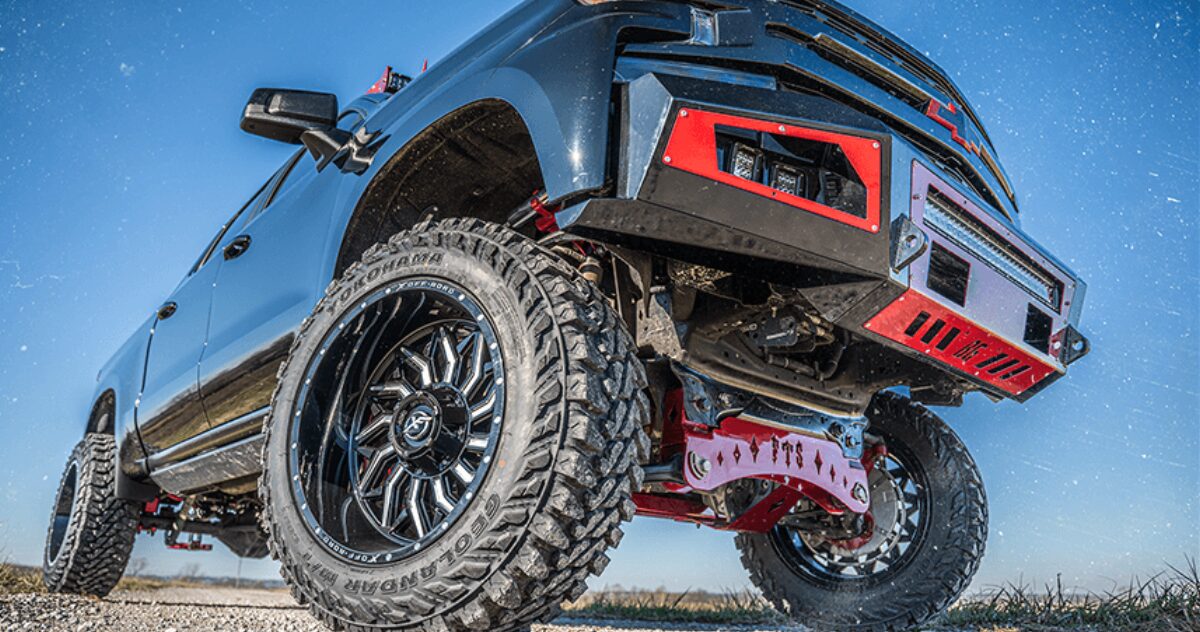
Your truck works hard every day, and so do your wheels. XF Off‑Road chrome wheels are built tough to handle rugged roads, muddy trails, and heavy loads but even the strongest wheels need a little care to stay looking and performing their best. Give your hardworking wheels some TLC, and they’ll reward you with durability, style, and long-lasting performance.
Before you begin, make sure you have all the necessary supplies. This makes the process easy and organized.
Start by thoroughly washing your chrome wheels with soap and water solution. It removes any dirt, brake dust, and grime. To avoid scratching the surface, use a soft cloth or sponge. Rinse the wheels and dry them completely to prevent water spots.
Carefully inspect each wheel for signs of damage, such as scratches, rust spots, or pitting. This will help you determine the areas that need more focused treatment.
If you find rust or corrosion, gently rub these areas with fine steel wool. Be very gentle to avoid scratching the chrome finish. This step helps to prepare the surface for polishing.
Once the wheel is clean and dry, apply a quality chrome polish to the affected areas. Rub the polish with a soft cloth in a circular motion. Work the polish into the chrome until you see a bright, shiny finish. Allow the polish to dry following the manufacturer’s instructions, then buff it off with a soft, clean cloth.
To protect the newly polished chrome, apply a wheel wax or protective sealant. This provides a protective layer that helps prevent future oxidation and corrosion. Apply the wax or sealant as directed on the product packaging.
To keep your chrome wheels looking great, establish a regular cleaning and maintenance routine. Clean your wheels regularly to prevent harmful substances, and apply a light coat of polish and sealant every few months.
Keeping your chrome wheels looking pristine isn’t just about aesthetics; it’s about prolonging their life and functionality. Regular maintenance is key, and here are a few simple tips to help you out. Firstly, make it a habit to clean your chrome wheels every two weeks, especially if they’re exposed to road salts or other contaminants. Use a soft brush and a chrome-specific cleaner so as not to scratch the surface while removing dirt and grime effectively.
Always inspect your wheels for any signs of scratches or pits during these regular cleanings. Early detection allows you to deal with minor issues before they escalate into rust or deeper damage. If you find any imperfections, a bit of chrome polish can go a long way in protecting the area and bringing back that original shine.
Another great tip is to apply a protective wax or sealant every few months. These products are designed to form a barrier against the elements, repelling road salt, brake dust, and dirt, which helps keep your wheels cleaner for longer. Avoid using harsh or acidic cleaning solutions; these can strip the protective coatings from chrome wheels, leaving them vulnerable.
Finally, after washing, always dry your wheels well with a soft cloth. It prevents water spots and mineral deposits from forming. Regularly following these easy steps will ensure your chrome wheels stay in excellent condition, enhancing both the look and the life of your wheels.
Fixing up your chrome wheels can vary in cost depending on whether you go the DIY route or opt for professional help. Doing it yourself is cost-effective, typically under $50 for all the necessary supplies like polish and steel wool.
On the other hand, professional chrome wheel repair can range significantly based on the extent of the damage—expect anywhere from $100 to several hundred dollars per wheel. The choice depends on your comfort with DIY projects and the severity of the wheel’s condition.
Taking care of your XF Off‑Road chrome wheels is easier than you think and it’s totally worth it. Regular maintenance not only keeps your wheels looking sharp, but it also helps your truck run better and keeps its value high. Plus, if you want your truck to keep performing like a beast, a little TLC goes a long way.
Here are a few simple tips to keep your chrome wheels in great shape and ready for whatever you throw at them:
Maintaining your chrome wheels is crucial for both their appearance and longevity. By consistently using appropriate cleaning agents designed for chrome, you can avoid damage and keep the wheels looking new. Regularly addressing scratches and rust spots enhances the visual appeal and also prevents further deterioration. Furthermore, moderate polishing and the application of protective sealants are essential steps in safeguarding the durability of the chrome finish.
By integrating these maintenance tasks into your routine care schedule, you ensure that your chrome wheels remain a standout feature of your vehicle, reflecting both care and quality. Stick to these principles, and your wheels will mirror your dedication to maintaining your vehicle’s pristine condition.

Thank you for requesting a quote,
you can expect an email from us very soon!
Have a shop? Become a dealer